


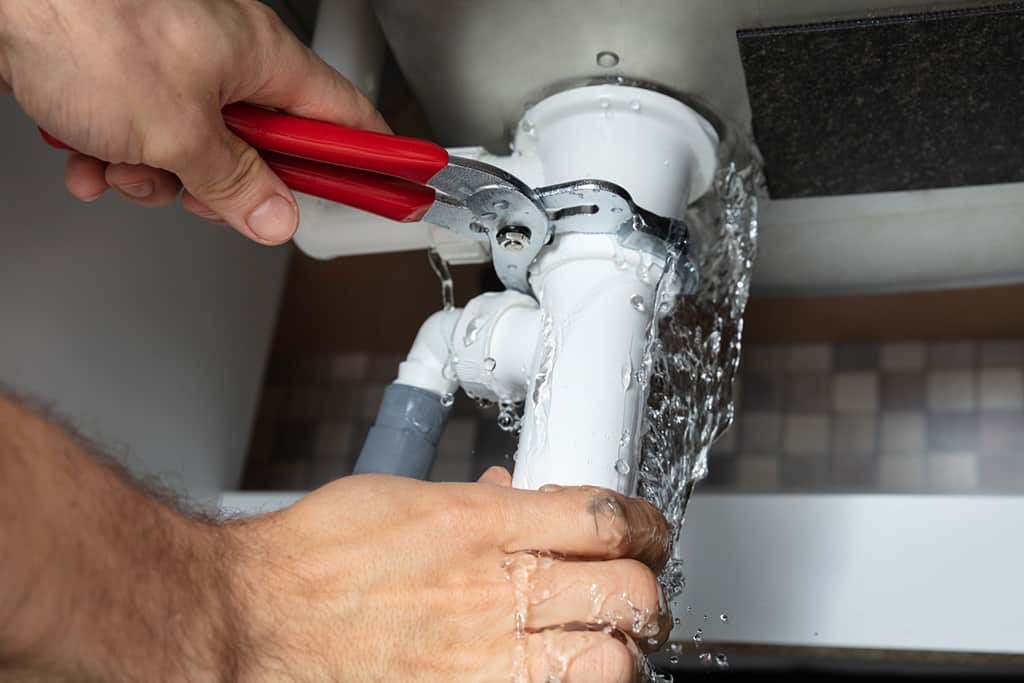
A burst pipe, overflowing toilet, or leaking water heater can turn an ordinary day into a scramble. In plumbing emergencies, your actions in the first hour often determine how much damage you’ll face, how safe your household remains, and how smoothly any repair or insurance claim goes. This guide lays out clear, practical steps to make the situation safe, stop or slow the water, stabilize the area, and decide what requires immediate professional help versus what can wait a day.
Make the Situation Safe First
Start by protecting people and property. If water is near electrical outlets, cords, or appliances, switch off power to the affected area at the breaker. Keep kids and pets out of the wet zone to avoid slips and contamination from gray or black water. If you smell gas around a water heater, leave the space and call your utility’s emergency line from outside. When you’re ready to act, confirm you can safely reach any valves without stepping in standing water that could conceal hazards. If you need guidance on what to shut off or want to confirm local service availability, pages such as https://callthechamps.com/plumbing-services-in-nichols-hills/ can help you understand what support options exist in your area.
Stop Water at the Source
Shutting off water quickly limits damage and buys time. Toilets, sinks, and some appliances have small isolation valves on the supply lines turn these clockwise to stop the flow to a single fixture. If an isolation valve is stuck or the leak is coming from a hidden pipe, use the main shutoff. In many homes, it’s in a basement, garage, exterior wall box, or curbside meter pit. Turn the handle clockwise or rotate the lever until it’s perpendicular to the pipe. After closing the main, open a basement or lowest-level faucet and a couple of upstairs faucets to relieve pressure and drain residual water from lines.
Protect your water heater while the main is off. For gas models, turn the control to “pilot” so the burner doesn’t fire without a full tank. For electric models, switch the breaker off to prevent the heating elements from running dry. These steps can prevent costly equipment damage and reduce the chance of scalding hot water discharging unexpectedly.
Stabilize and Document the Damage
Once the water is under control, contain what’s already on the floor. Move furniture and electronics out of the wet area. Use towels, a wet/dry vacuum, or buckets to remove standing water. Set out fans to improve airflow and, if conditions allow, open windows to speed drying. Fast action helps prevent wood swelling, flooring warping, and lingering moisture that can encourage mold.
Take quick photos or short videos before and after you start cleanup, and note when you discovered the problem, which valves you closed, and any sounds or odors you noticed. This record can support conversations with a licensed plumber and may be useful for an insurance claim. Keep receipts for any supplies or temporary parts you buy; many policies request documentation.
Know Which Problems Can’t Wait
Some issues demand same-day attention. A burst pipe, a main drain or sewer backup, a leak that’s still active after you’ve closed fixture valves, or any sign of contaminated water requires urgent help. Water heater leaks near the tank base or pressure relief valve also warrant prompt evaluation. If a ceiling is bulging, it’s holding water carefully poke a small hole with a screwdriver into a bucket to relieve pressure and prevent a sudden collapse, then address the leak source.
Other problems can be scheduled soon, but not necessarily right now. A slow drain in a single sink, a drip from a faucet, or a running toilet rarely needs emergency service if you can safely isolate the fixture. That said, any persistent leak inside walls or floors should still be investigated in the near term; hidden moisture can cause structural damage even if you don’t see much water.
Temporary Fixes You Can Handle
Short-term measures can reduce damage until a pro arrives. For small weeping joints, plumber’s tape or a push-to-connect cap may slow the drip. A cracked flexible supply line is a frequent culprit; shutting the fixture valve and swapping the line with a reinforced stainless steel braided option is a straightforward homeowner repair. For a running toilet, turn the stop valve clockwise, remove the tank lid, and check if the flapper is misaligned or the float is stuck; simple adjustments can halt the flow.
Be cautious with drains. A plunger or a hand-crank drain auger is safer than chemical drain openers, which can damage pipes and create hazards for anyone working on the line later. If you have a garbage disposal that hums but won’t spin, switch it off, insert the manufacturer’s hex wrench in the underside socket, and gently rotate to free a jam. Always cut power at the switch or breaker before reaching near moving parts.
How to Prevent the Next Emergency
Many crises are preventable with routine upkeep. Replace aging rubber supply lines to toilets, faucets, and washing machines with braided stainless steel lines every few years or sooner if you see corrosion or bulging. Insulate exposed pipes in unconditioned spaces and disconnect garden hoses before freezing weather. Test your main shutoff annually to ensure it still turns; if it’s seized, have it replaced proactively.
Mind water pressure it should typically be around 50–60 psi for most homes. Pressure that’s too high stresses fixtures and joints; a pressure-reducing valve can help. In kitchens and baths, use drain strainers, avoid pouring fats or oils down sinks, and flush only toilet paper. Consider leak detectors with automatic shutoff for water heaters and laundry areas; these devices sense water and close a valve to limit damage while you’re away.
Working With a Licensed Plumber
When you call for help, be ready to describe what happened, what you shut off, and any temporary measures taken. Share the age and type of fixtures or appliances involved and whether you’ve had previous issues in the same area. Ask about diagnostic steps, approximate timelines, and whether any permitting might be needed for major work like water heater replacement or re-piping. If a repair involves opening walls or ceilings, clarify what restoration is included versus what you’ll handle separately.
After the repair, request a summary of the cause and fix, note any parts replaced, and ask about maintenance recommendations. Keeping a simple home plumbing log valve locations, replacement dates for supply lines, water heater service dates makes the next decision faster and helps you spot patterns before they become emergencies.
The first hour of a plumbing emergency doesn’t have to feel chaotic. Make the scene safe, stop the water, stabilize the area, and document what you find. Then decide what truly can’t wait and use short-term fixes to bridge the gap until a pro arrives. With a little preparation knowing where your valves are, keeping basic tools on hand, and practicing prevention you’ll protect your home, your budget, and your peace of mind when the unexpected happens.
