


A small, unseen plumbing leak can snowball into damaged drywall, swollen subfloors, shorted outlets, and a soaked air handler. Because water follows gravity and framing paths, the wet spot you see is rarely the actual source. A quick, methodical check can help you separate a pinhole in a copper supply line from a loose P-trap or a clogged AC condensate drain before you start opening ceilings. This guide explains how to recognize early signals, tell supply leaks from drain or HVAC condensate issues, confirm what is happening using simple isolation steps, decide what to shut off, and reduce the chance of bacterial growth while you plan next steps.
Early Signals That Point to a Leak
For homeowners in and around Bartlesville, start with signs that appear even when fixtures are off. A spinning water meter leak indicator, a water heater that reheats too often, or a toilet fill valve hissing can indicate a pressurized supply leak or a running toilet. Warm flooring along a hot-water line, damp cabinet bottoms below angle stops, and ceiling stains under bathrooms are classic clues. A musty odor in enclosed spaces, such as a vanity or under a sink, can signal moisture lingering long enough to encourage bacterial growth on organic materials like paper-faced drywall.
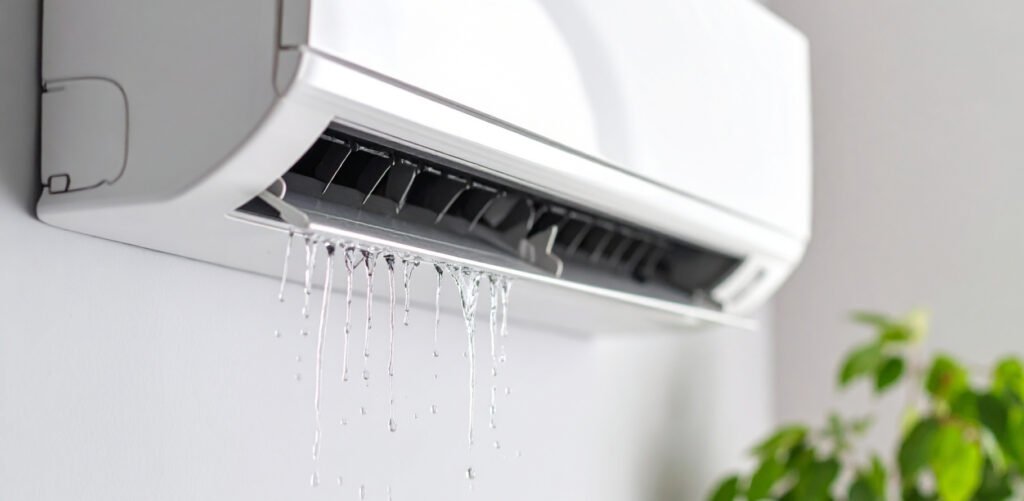
Outdoors, look for soggy patches along an irrigation main, a constantly wet hose bib, or water seeping from a foundation crack. Near HVAC equipment, a damp air handler closet, a full condensate pan, or water near the secondary overflow drain in the eaves often points to a clogged condensate line rather than a plumbing leak. Each hint helps narrow what to check first and where to place buckets or towels to protect finishes.
Supply Line vs. Drain Line vs. Condensate: Telling Them Apart
Pressurized supply leaks drip or spray even when no one is using water and typically stop when you close the main shutoff valve or a nearby angle stop. Drain leaks appear only while that fixture runs and a few minutes afterward, often showing up at slip-joint nuts, a cracked P-trap, or a tub shoe. HVAC condensate leaks track with cooling season, collecting in the primary pan below the evaporator coil and overflowing when the trap is blocked. A few quick checks: add food dye to a toilet tank to spot a flapper leak, feel supply hoses for bulges in the braiding, and run a single fixture while watching the area below.
Scenario 1: A first-floor ceiling stain below an upstairs bath grows only after showers, while a five-minute sink test leaves it unchanged. That points to a shower pan, failed grout, or drain assembly rather than a supply line. Scenario 2: In July, the attic around the air handler is wet, and the secondarypan’ss float switch has tripped. That suggests a clogged condensate trap or cracked drain pan, an HVAC repair issue distinct from plumbing, and a reason to switch the AC off until the line is cleared.
Confirm the Leak With Simple Isolation Steps
Use your water meter to confirm a hidden supply leak: shut off all fixtures, note the meter, and watch the leak-indicator triangle for movement. Close toilet angle stops one by one to see if movement ceases, a quick way to find a running toilet. Close the main valve and check if dripping stops; if so, the issue is on the pressurized side. For water heater checks, feel the cold inlet line and verify the expansion tank is not waterlogged with a tap test. Inspect the temperature and pressure relief valve discharge pipe for ongoing drips. If water is near outlets or a power strip, switch off the breaker and stay away until an electrician evaluates it.
For condensate, clear the trap at the air handler, vacuum the line at the exterior cleanout, and flush the trap with a small amount of distilled vinegar. If you see corrosion at dielectric unions or a greenish crust on copper near a pinhole, that signals a supply-side issue. If a ceiling is bulging, carefully pierce the lowest point with a screwdriver into a bucket to relieve pressure, then remove saturated insulation. If you’re unfamiliar with these steps, pause and call licensed help for plumbing, HVAC, or electrical work, as appropriate.
What to Shut Off, and When
The key trade-off is convenience versus damage control. If you have a clear culprit, isolate it with local stops: close a sink’s 3/8-inch compression valves, a toilet’s angle stop, or a washing machine’s quarter-turn valves to keep the rest of the house running. If you cannot pinpoint the source, close the main shutoff at the meter or curb stop to protect drywall, hardwoods, and cabinets. Open a hose bib to relieve pressure. If a GFCI outlet trips repeatedly after a leak, leave the circuit off and have an electrician inspect for moisture intrusion before restoring power.
Containment buys time. Place pans beneath P-traps, use towels along baseboards, and set a dehumidifier near wet drywall. If you remove a faucet or toilet for diagnosis, temporary compression caps can seal 3/8-inch supply stubs while you continue other checks. Monitor the water heater pan and attic secondary pan. If the air handler pan is wet, switch the thermostat to off to prevent overflow while you clear the condensate line. Dry materials within the first day when possible to curb bacterial growth and odors.
Preventing the Next Leak
Small upgrades reduce risk. Replace aging rubber supply hoses with braided stainless lines and swap sticky gate valves for quarter-turn ball valves. If static pressure exceeds recommended limits, add a pressure-reducing valve and ensure a thermal expansion tank protects the water heater. Test toilet flappers with dye annually and inspect wax rings when a toilet wobbles. For HVAC, clean the condensate trap at the start of the cooling season, keep the primary pan clean, and add a float switch that shuts the system down if the secondary pan fills. Smart leak sensors near the water heater, refrigerator, and air handler can text you before drywall stains appear.
In a leak, method beats guesswork. Start with early signals, separate supply from drain and condensate clues, confirm with isolation, and do not hesitate to cut water or power if safety is in question. Dry what you can quickly, then address root causes, whether that means a new flapper, clearing a condensate line, or replacing a corroded section of copper. Coordinated attention to plumbing, AC repair items like condensate maintenance, and electrical protection such as GFCI coverage turns a stressful surprise into a contained incident and helps your home stay resilient through future seasons.
