


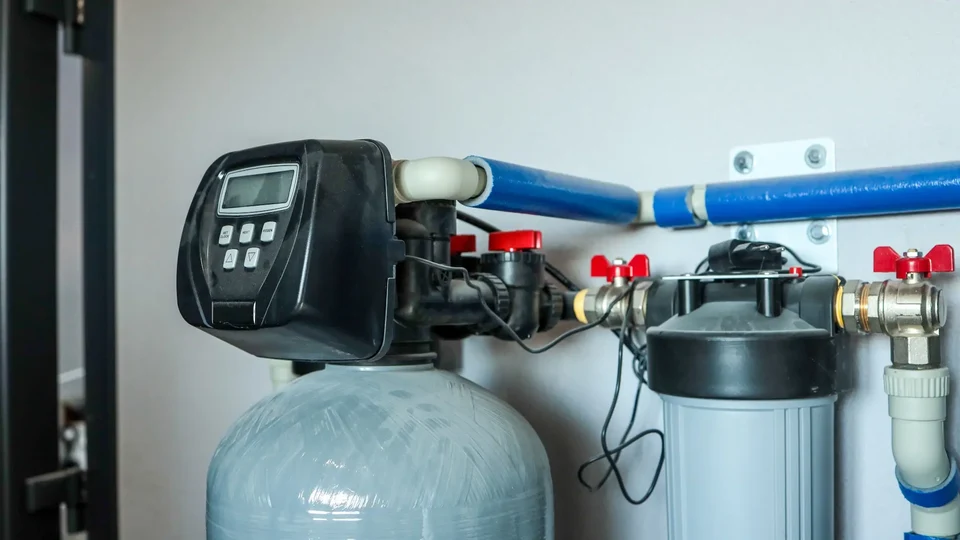
Adding a water softener is one of the most effective ways to protect fixtures, water heaters, and laundry from hard water scale. However, performance depends less on the brand and more on how well the system matches your water conditions and plumbing layout. Before scheduling an installation, confirm your hardness level, check for iron and chlorine, calculate realistic water demand, and choose a location with the proper connections. These include a main cold-water connection, a code-compliant drain with an air gap, and a nearby electrical outlet. Getting these details right helps the resin bed regenerate on schedule, maintains adequate service flow during showers, and reduces common problems such as salt bridges and drain backflow issues.
-
Test Your Water: Hardness, Iron, and Chlorine
Start with a hardness test measured in grains per gallon (gpg), using reliable test strips or a laboratory kit. If your home uses a private well, also test for iron and manganese because both substances can foul the resin bed and cause staining. Municipal water users can review a recent water quality report and still verify hardness with a home test because local conditions and household plumbing can affect results. If free chlorine or chloramine is present, consider installing a carbon prefilter before the softener to help protect the resin from oxidation. For a general overview of softening and related plumbing services in the area, resources such as water softener in Papillion can provide useful information. At the same time, you plan the installation and compare equipment options.
-
Do the Sizing Math: Grain Capacity and Service Flow Rate
Two numbers help determine whether a softener can meet your household’s needs: grain capacity and service flow rate. Grain capacity indicates how many hardness grains the resin can remove between regeneration cycles. The required capacity depends on your tested hardness level and typical daily water consumption. Choose a system that regenerates regularly without needing daily regeneration, and consider demand-initiated controls that trigger regeneration based on actual water use. Service flow rate, measured in gallons per minute, determines whether several fixtures can operate simultaneously without a noticeable pressure drop or incomplete softening. Small resin beds or undersized control valves may restrict flow during periods of heavy use. A larger tank or valve can provide more flow capacity, but it also requires more installation space and may use additional salt during regeneration. For example, a household of five that showers and runs laundry during the same evening period may need greater service flow capacity than a two-person household that spreads water use throughout the day.
-
Choose the Location: Loop, Bypass, Drain, and Power
A suitable location is usually on the main cold water line after it enters the home and before it branches to outdoor hose bibs. The softener is also typically installed before the water heater so softened water can help protect the tank and heating components from mineral buildup. Some households keep one cold water line to the kitchen sink unsoftened for drinking purposes or to supply a reverse osmosis system. Make sure an approved drain is available nearby and that the softener can discharge through a visible air gap. Possible drain locations may include a floor drain, laundry sink, or washing machine standpipe. You will also need a standard 120 volt electrical outlet for the control head, enough space for both the mineral tank and brine tank, and a level, dry floor. Avoid areas that may freeze, such as an unheated garage, unless you provide proper freeze protection. Regeneration can also create some noise, so placing the equipment directly beneath a bedroom may be undesirable. Older homes without a dedicated softener loop or nearby drain may require additional plumbing work before installation.
-
Plumbing Connections That Maintain Pressure and Meet Code
Match the softener inlet and outlet size to the diameter of the home’s plumbing whenever possible to maintain adequate water flow. Unnecessarily reducing pipe size can create a restriction that affects pressure throughout the house. Use full-port shutoff valves and a functional bypass valve so you can isolate the softener for maintenance without shutting off water to the entire home. Always verify the flow direction on the control head because reversing the inlet and outlet can cause serious performance problems. If the home’s water pressure is unusually high, a pressure-reducing valve installed before the softener can help keep the control head within its rated operating range. Homes with a check valve or other closed plumbing system may also require a thermal expansion tank near the water heater. The drain line must discharge through an approved air gap to prevent contaminated water from flowing back into the system. Secure it and route it without sharp bends or kinks. You can use copper, PEX, and CPVC as long as you follow the proper connection methods. When working with copper, keep soldering heat away from plastic components, or use manufacturer-approved fittings and adapters.
After Installation: Salt, Regeneration Timing, and Resin Care
Use high-purity solar salt or evaporated salt pellets to reduce the chance of salt bridging and salt buildup in the brine tank. If you prefer potassium chloride to reduce sodium in softened water, you may need to adjust system settings because potassium chloride behaves differently during regeneration. Avoid overfilling the brine tank and inspect it periodically for a hardened crust that may form above a space. Set regeneration during periods of low water demand, such as early morning, and use demand-initiated controls whenever possible so the system regenerates based on actual water consumption rather than a fixed schedule. If testing reveals iron in the water, follow the manufacturer’s recommendations for resin cleaning or iron treatment. Replace sediment and carbon prefilters on schedule, as accumulated debris and chlorine exposure can reduce resin performance over time. If outdoor faucets receive softened water, using the bypass during lawn watering or pressure washing can help reduce unnecessary salt and water consumption.
Good water softening begins well before the mineral tank is installed. Testing the water to determine hardness, reviewing realistic household water demand, and planning for proper placement, drainage, electrical power, and plumbing connections all influence how well the system performs over time. Paying attention to drain air gaps, pipe sizing, bypass valves, and water pressure can reduce the risk of leaks, flow restrictions, and plumbing code concerns. With careful preparation and equipment that matches your actual water conditions and usage patterns, a water softener can provide dependable protection for plumbing fixtures and appliances while requiring only routine salt refills, filter changes, and occasional maintenance checks.
