


When an air conditioner stops cooling on a sweltering day, panic is natural, but a calm, methodical approach can save time, protect your equipment, and help you get back to comfort faster. Before you assume the system needs major repairs, there are a handful of safe checks you can perform. These steps can either restore cooling or provide useful details a technician will need. This guide walks you through practical troubleshooting, when to shut the system down, what to document, and how to think through repair versus replacement so you can make clear, confident decisions.
Start With Safety and a Quick System Snapshot
First, make sure everyone in your household is safe and comfortable. If indoor temperatures rise quickly, especially for infants, older adults, pets, or anyone with health conditions, move to a cooler area if possible. Then, take a quick snapshot of what’s happening: note the indoor temperature compared to the thermostat setting, any unusual sounds or smells, whether air is blowing from vents, and whether the outdoor unit is running. This overview will guide your next steps and help a technician later.
Confirm that your thermostat is set to “Cool” and “Auto,” and that the setpoint is below the current room temperature. If your thermostat uses batteries, replace them. For smart thermostats, briefly check app settings and any alerts. If the fan runs but air is warm, or if both the indoor and outdoor units are silent despite a cooling call, your observations can narrow the likely issue.
If these basics don’t resolve the problem and you suspect a fault, it may be time to consult an experienced Air conditioning repair service to prevent further wear or a more expensive breakdown.
Quick Checks You Can Do in 10 Minutes
Replace or clean the air filter. A clogged filter restricts airflow, causing weak cooling, icing on the indoor coil, and higher energy use. If your filter is overdue, swap it and give the system 30–60 minutes to stabilize. While you’re there, confirm that supply vents are open and return grilles are unobstructed by furniture, drapes, or dust buildup.
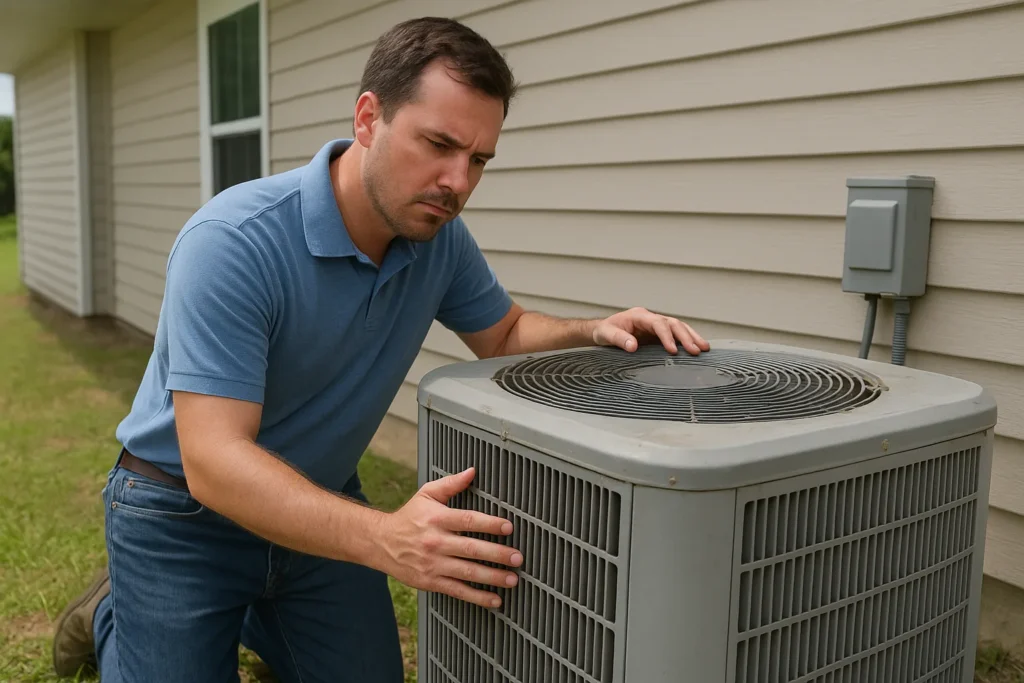
Step outside to the condenser. Clear leaves, grass clippings, or debris at least 18–24 inches around the unit so it can exhaust heat. Gently hose dirt off the coil fins from the outside in; avoid high pressure and shut power off first at the disconnect or breaker. Listen for the condenser fan: if the outdoor unit hums without the fan spinning, or if it starts and stops rapidly, stop troubleshooting and consider professional help to avoid motor or compressor damage.
When to Power Down and Call a Professional
Some symptoms are “stop now” signs. If you see ice on refrigerant lines or on the indoor coil housing, turn the system off and switch the thermostat fan to “On” for a couple of hours to help thaw the ice. Continuing to run a frozen system can damage the compressor. Likewise, shut down the system if you smell burning, notice sparking, or hear loud grinding or screeching. Electrical issues and failing motors are not DIY repairs.
Water around the indoor unit can signal a clogged condensate drain. You can try clearing the drain line if it’s accessible, but if water has pooled near electrical components or you’re unsure of the source, power the system off. If breakers trip repeatedly when the AC tries to start, don’t keep resetting them; this can indicate a serious electrical fault that requires a licensed technician.
Details to Gather Before You Schedule Service
Clear, concise information helps technicians diagnose faster. Jot down the make and model (often on a label near the indoor air handler and outdoor condenser), when the issue started, any changes you made recently (new thermostat, home renovations, landscaping near the condenser), and whether the system has been serviced this year. Note what you’ve already tried: filter replacement, thermostat battery swap, breaker check, and whether those steps changed anything.
If you observed ice, water, or unusual sounds, take a timestamped photo or short video. Document the thermostat setpoint and actual room temperature, too. If you have a smart thermostat, screenshots of any system alerts or runtime graphs can be useful. This simple record-keeping can reduce diagnostic time and get your system back up faster.
Repair or Replace? A Simple Way to Frame the Decision
Not every breakdown means it’s time for a new system. Age, repair history, and the specific component that failed all matter. A relatively new system with a single, straightforward fault like a capacitor or contactor often makes sense to repair. On the other hand, frequent refrigerant leaks, a failing compressor, or major parts on a system that’s already near the end of its typical service life may justify a replacement conversation.
Consider operating costs and comfort, too. Newer systems can offer improved efficiency, better humidity control, and quieter operation. A helpful rule of thumb is to weigh the repair estimate against the unit’s remaining life. If a repair approaches a significant percentage of a new installation and the system is old or inefficient, replacement may provide better long-term value. A qualified technician can outline options without pressure so you can compare apples to apples.
Simple Habits That Reduce Future Breakdowns
Consistent maintenance is the easiest way to keep your AC reliable. Change filters on schedule, usually every 1–3 months depending on filter type and household conditions. Keep the outdoor unit free of debris and vegetation, and rinse the coil gently each spring. Inside, make sure supply and return pathways stay open and dust-free. Small habits support airflow, reduce strain, and help maintain the designed cooling capacity.
Schedule professional inspections ahead of the cooling season. A tune-up typically includes checking electrical connections, measuring refrigerant levels, cleaning coils, verifying temperature splits, and ensuring the condensate drain is clear. Catching a weak capacitor or loose wiring in April is far less stressful than discovering it during the first heat wave. Preventive attention also creates a baseline record that simplifies future troubleshooting.
How to Choose a Qualified Technician With Confidence
When you need help, look for licensed and insured providers who are transparent about diagnostic procedures, explain findings clearly, and offer written estimates. Check whether they service your equipment brand and have experience with your system type (traditional split systems, heat pumps, or ductless mini-splits). Responsive communication, clear appointment windows, and respectful on-site practices are all good signals.
Ask what will be included in the visit: diagnostic steps, safety checks, and whether the estimate applies to the final repair if you proceed. If you’re weighing repair versus replacement, request side-by-side options that detail efficiency ratings, warranties, and any recommended indoor air quality upgrades. A straightforward, educational approach is a sign you’re working with a pro who wants you to make an informed decision.
Cooling issues rarely happen at a convenient time, but a measured, safety-first triage can protect your equipment and accelerate the fix. Start with simple checks, know when to power down, and document what you see. With that foundation, a qualified technician can pinpoint the problem and help you decide on the best path forward so your home stays comfortable when it matters most.
