


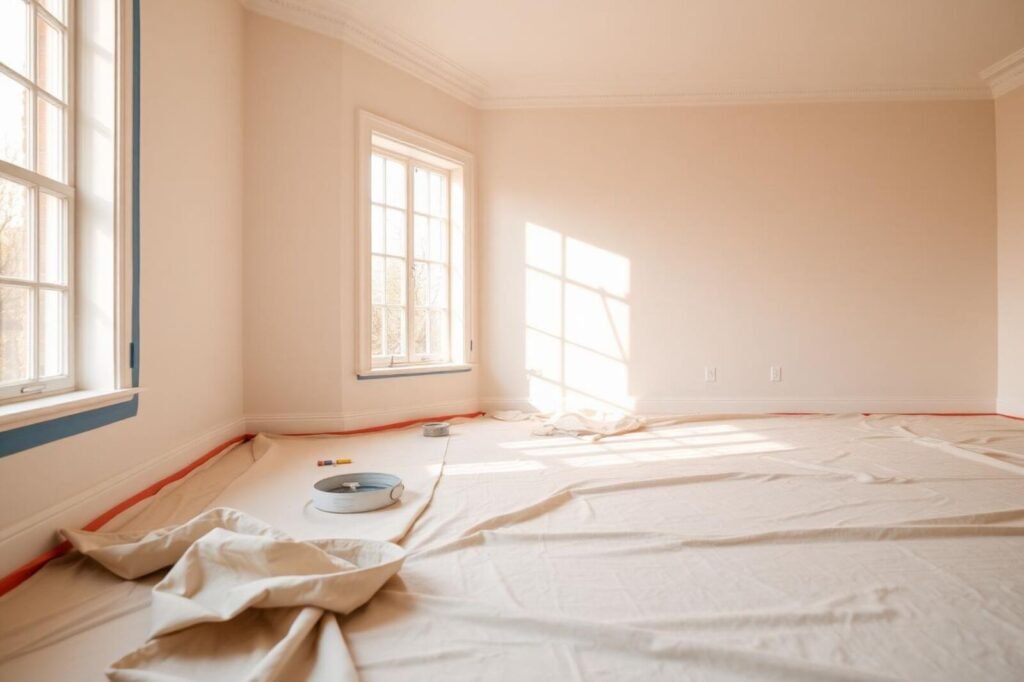
A whole house repaint can refresh every room at once, but the best results come from smart sequencing and consistent preparation, not just picking colors. When work happens in occupied homes, decisions about which rooms go first, where to stage furniture, and how to manage drying time matter as much as brushwork. This article focuses on the order of operations that keeps daily life moving, the prep that helps paint adhere across different surfaces, and the finishing details that protect new coatings. You will find practical examples for bedrooms, kitchens, halls, and trim, plus trade offs among sheens and application methods so the final finish looks uniform from baseboards to ceilings.
-
Plan the Room by Room Sequence to Keep Life Moving
Start where disruption is easiest to tolerate, such as a guest room or home office you can empty first. Create a staging area with drop cloths for furniture and boxed decor so movers and painters have clear paths. Work top down: paint ceilings before walls, then doors and trim last to prevent spatter on finished surfaces. Tackle closets while they are empty, then move clothes back and free the next room. Prioritize wet areas such as kitchens, baths, and laundry around ventilation and family schedules, and leave a “clean zone” like a finished bedroom or den for kids and pets to retreat to each day. Hallways and stairs should follow once adjoining rooms have cured enough to handle light contact.
Protect traffic routes before work begins by masking handrails, laying rosin paper on hardwoods in corridors, and labeling doorways with blue tape to mark wet paint. For readers planning whole house painting in Chesterfield, the logistics are similar: stage one level at a time, clear countertop appliances in kitchens, and coordinate a temporary landing spot for wall art and mirrors removed from hallways. A simple whiteboard or checklist that tracks which rooms are prepped, primed, and coated keeps the sequence on schedule and reduces rework.
-
Surface Prep That Holds Up: Repairs, Cleaning, and Primers
Uniform color does not hide uneven surfaces. Degloss and clean walls first so new coatings bond instead of sliding over residues. In kitchens, use a TSP substitute or a degreaser on backsplash walls and around range hoods. In baths, wipe down walls to remove soap film. Feather rough spots with 120 to 150 grit sanding sponges and vacuum dust from baseboards and window casings. Fill nail holes with lightweight spackle, address drywall seams with joint compound, and let repairs dry thoroughly before sanding smooth. Flexible gaps at trim and crown molding should be caulked with a paintable acrylic latex caulk, tooling the bead so it bridges edges without smearing onto profiles you want to keep crisp.
Choose primers to match the problem. A stain blocking primer, acrylic or shellac based, stops water marks and tannin bleed from knotty wood. A bonding primer helps paint adhere to glossy banister spindles or oil painted doors after scuff sanding. When changing a dark wall to a light neutral, a tinted primer reduces the number of finish coats needed. Spot prime patches rather than flashing entire walls, then do a full wall finish coat so sheen remains consistent. Skipping primer on patches is a common mistake; patched areas can flash dull under eggshell or satin finishes, telegraphing every repair under daylight.
-
Color Flow and Sheen: Coordinating Rooms Without Sacrificing Durability
Color looks different on a whole wall than it does on a chip. Brush two foot sample squares on multiple walls in the same room and on a piece of primed poster board you can carry into adjacent spaces. Check samples at midday and under lamps at night to see shifts in undertone. For a cohesive feel, keep trim and doors one shared color throughout, often an off white or soft white, then vary wall hues by a step or two in saturation across connected rooms. Long sightlines from entries through living areas reward subtle differences rather than abrupt jumps.
Match sheen to use. Flat or matte hides drywall texture on ceilings. Eggshell offers a balance of washability and low glare for most bedroom and living room walls. In high traffic corridors, kids’ rooms, mudrooms, and stairwells, satin resists scuffs and wipes clean more easily than matte. Semi gloss or enamel on baseboards, window casings, and doors stands up to repeated cleaning and light bumps from vacuums. The trade off is visibility: higher sheens show roller marks, patches, and lap lines more readily. If walls have many repairs, consider eggshell instead of satin, and invest time in sanding and priming to keep the finish from highlighting imperfections. In moisture prone baths, choose a mildew resistant wall paint, then run an exhaust fan during and after painting to help coatings cure.
-
Application Methods: When to Spray, Roll, or Brush
Airless spraying can be efficient on vacant interiors with bare floors and minimal masking, and it lays down smooth finishes on doors and trim when parts are removed and sprayed flat. In occupied homes, rolling and brushing reduces overspray risk and the amount of plastic and paper required to protect furnishings. Use a 3/8 inch nap roller on smooth drywall and a 1/2 inch nap for light texture. Cut in with a quality nylon polyester brush, then roll immediately to maintain a wet edge and avoid lap marks. For window sashes and cabinet doors you can take off, spraying in a garage with proper ventilation can deliver a factory like look, while baseboards and casings usually get cleaner results with brushwork on the wall.
Two thin coats typically look better and last longer than one heavy coat, especially with deeper colors. Products marketed as “one coat” often still require two passes on patched or previously unpainted areas. Another workable approach is a tinted primer plus a single finish coat in a lighter neutral. If you do spray large areas, back roll while the paint is still wet to work material into the surface and unify the texture with walls that are rolled. Swap roller covers and brushes as they show wear; frayed covers shed lint that sticks in the finish, and splayed brush tips leave visible strokes on trim.
Drying, Curing, and Re Entry: Timing the Final Walk Through and Aftercare
Dry to touch and fully cured are not the same. Many acrylic wall paints can be recoated in a few hours, but they may take several weeks to reach full hardness. Keep HVAC running to control temperature, open windows when weather allows, and position box fans to move air without blowing dust onto fresh walls. Low or zero VOC paints reduce odor during re occupancy, yet good ventilation still speeds off gassing. Remove painter’s tape within an hour or two of the final coat to prevent lifting the film once it firms up. Replace outlet covers and door hardware only after surfaces are dry to the touch, handling parts with clean hands to avoid smudges.
Hold off on hanging framed art and shelving for a few days so hooks do not press into soft paint. In kids’ rooms and play areas, use removable adhesive tabs for the first month, then switch to permanent anchors once coatings cure. Clean new walls gently with a damp microfiber cloth and mild soap only after curing; scrubbing too soon can burnish eggshell and satin finishes, creating shiny spots. Add felt pads under furniture feet when moving pieces back, and slide heavy dressers on moving blankets to protect both floors and fresh baseboards. A simple maintenance kit with a labeled touch up container, small roller, and an angled sash brush makes future fixes easy.
A whole home repaint succeeds when sequence, surface prep, and finishing choices work together. Map out a room order that keeps at least one daily living space open, then invest effort where it pays dividends: cleaning, sanding, caulking, spot priming, and choosing sheens that match how each room is used. Sample colors on the wall, maintain a wet edge during application, and respect drying and curing times before moving life back onto fresh surfaces. Keep labels for every can with the room name and formula, and store a small touch up jar for each color. Thoughtful planning up front sets you up for consistent color, durable walls, and a calmer project from first ceiling coat to final door hinge.
